Greetings!
The French Knitting Machine manufacturer S.I.T./Superba, which produced the Superba, Singer, White and Phildar brands of home knitting machine was known for it's metal and aluminum Double Bed model knitting machines.
They also produced a range of 9mm Gauge Hobby Machines.
These were sold as the following.

From Superba: The S9.
The Hobby Knitters are single bed knitting machines that are made of a light weight plastic frame. They use metal needles spaced 9mm apart allowing them to knit hand knitting yarns that range from Double Knitting or DK weight, Worsted Weight and Chunky Weight.
In hand knitting terms, the Hobby Knitter models will knit yarns that work up on a US#6/4mm through a US#10/6mm.
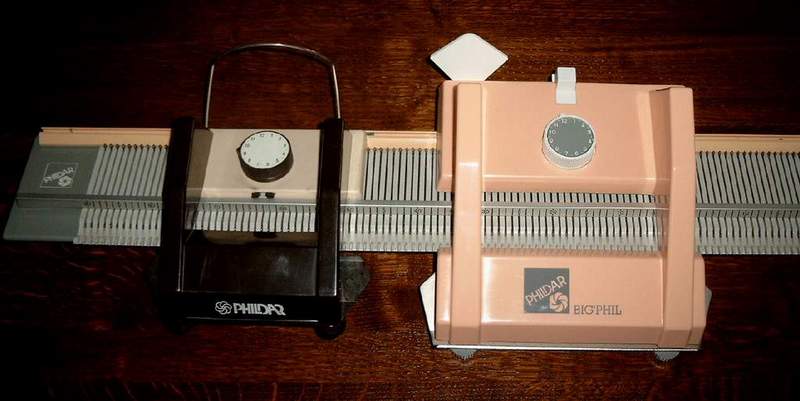 These are the most basic model of machine as they only knit stocking stitch and there is no yarn tension mast. The carriage is actually an Intarsia carriage. You can see an Intarsia Carriage for a 5mm gauge machine compared with the 9mm S9 carriage in the photo above. The S9 and Easy Knitter models have 115 needles and the Big Phil 123 or 126. Not a huge difference.
 Being a plastic bed machine makes them very light weight and portable. Hence the term "hobby" knitter.
My model, the White Easy Knitter, is shown below. You just clamp it to a table, select the needles you want to knit with, slide the carriage across and the needles align in positon #2 with the latches open.
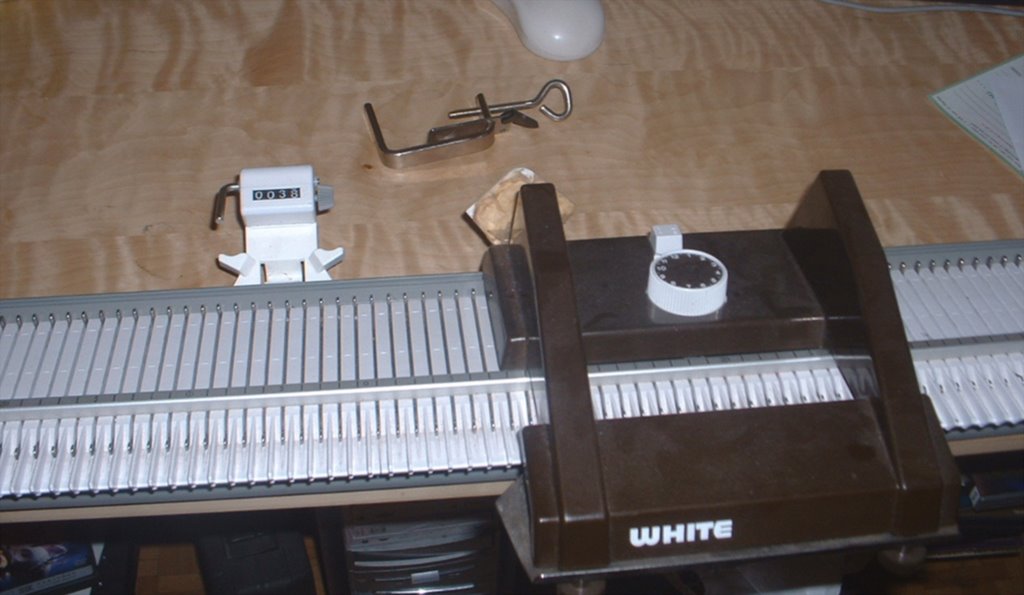

Then, with your yarn resting on the floor by your feet, you lay the yarn across the needles and pass the carriage across to complete one row of Stocking Stitch.

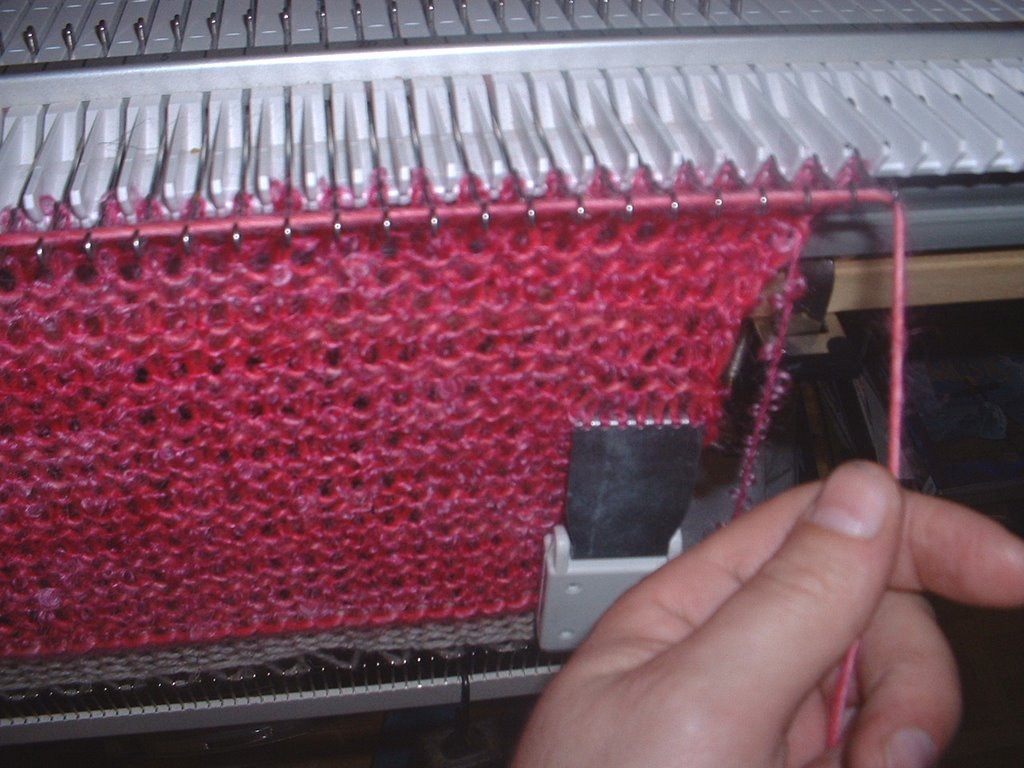
A rather straight forward process and of course one can do many hand manipulated stitches like cables, lace, tuck and slip and multi-coloured Intarsia. These are excellent machines for knitting fabric to be felted.
There is no ribber or second bed of needles for these models so any Knit ~ Purl stitch combinations must be hand manipulated. Singer in the UK did make the attempt at a second bed of needles but from what I've read it was not worth the effort.
In these photos I am working with two qualities of Lorna's Laces Mohair in Pink Blossom:
- a Chunky Weight singles (when I say "singles" I mean that it is one thick stand of roving not plied)
- Grace, a medium bouclé which knits on a #US10 or 6mm hand knitting needle.
 I started with a Waste Yarn/Ravel Cord cast on - always! Then I proceeded with a Double E-Wrap as the finished cast on in the Chunky Mohair. I used stitch size 12 to maximize the length and ensure a nice drape. The hobby knitter made very light work of this and, as I was alternating single rows of each quality, I simply had to remove the carriage and attach it at the opposite end every third row. No big deal. I used two medium weights and claw weights for the edge stitches.
I finished with a latch tool bind off, nice a loose with my tension as this piece of fabric was to be blocked after knitting and I needed the ends to have some s-t-r-e-t-c-h.
 I was pleased with the pretty fabric the combination of yarn weights produced and as a result I had just enough yarn to knit my desired length. Just enough!! The bouclé ran out first but I'll use the remaining chunky mohair to sew up the side seams.
IMMERSION BLOCKING BASICS
After removing the knitted fabric from the machine I immerse it in a sink with WARM, tepid water. Not hot, not cold. I do not want to felt my fabric. Just condition it.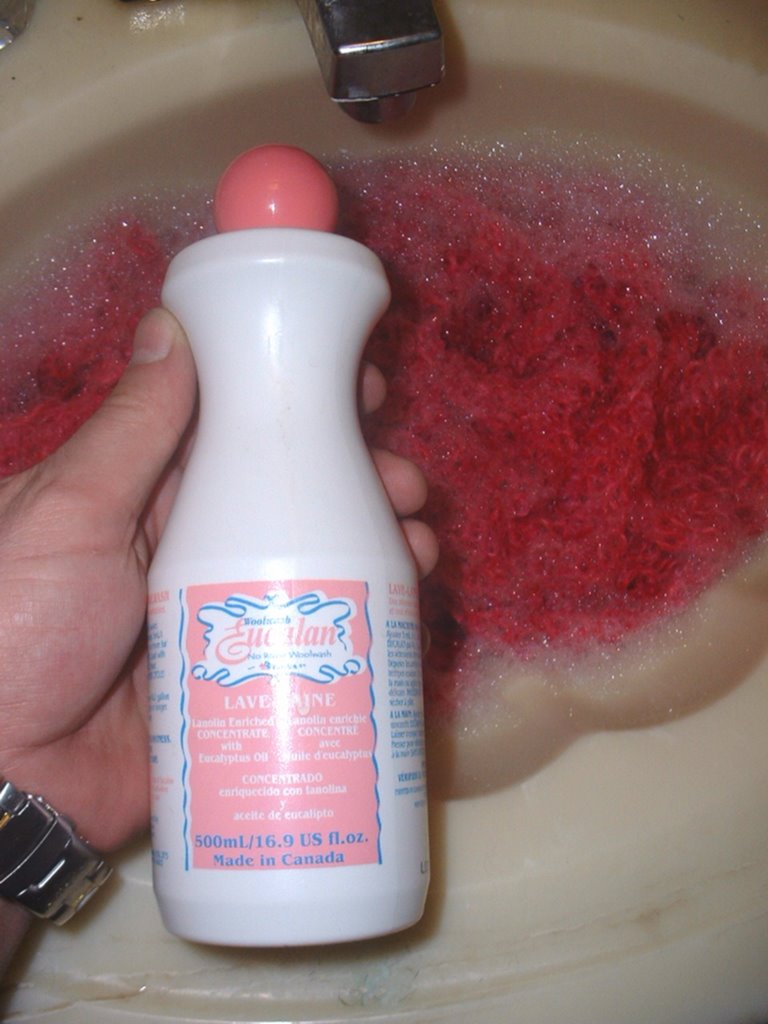 To do so I add about 3 tablespoons of a wool wash called Eucalan. This is a NO-RINSE wool wash (very low sudsing - perfect for pets as well!) made with Eucalyptus and Lanolin. The best thing for knits of any kind and other fine garments that you want to wash by hand. Remember - it's no rinse - which saves on water making this a very eco-friendly product.
I mix the Eucalan into the water with my hand to make sure it's disolved then I immerse the fabric, turning it a few times until it has absorbed the water. Top up the WARM water level if necessary. Then just leave it for 20 minutes.
In the photo below I got carried away with swirling the water - so try to mix the fabric wash with the water gently.
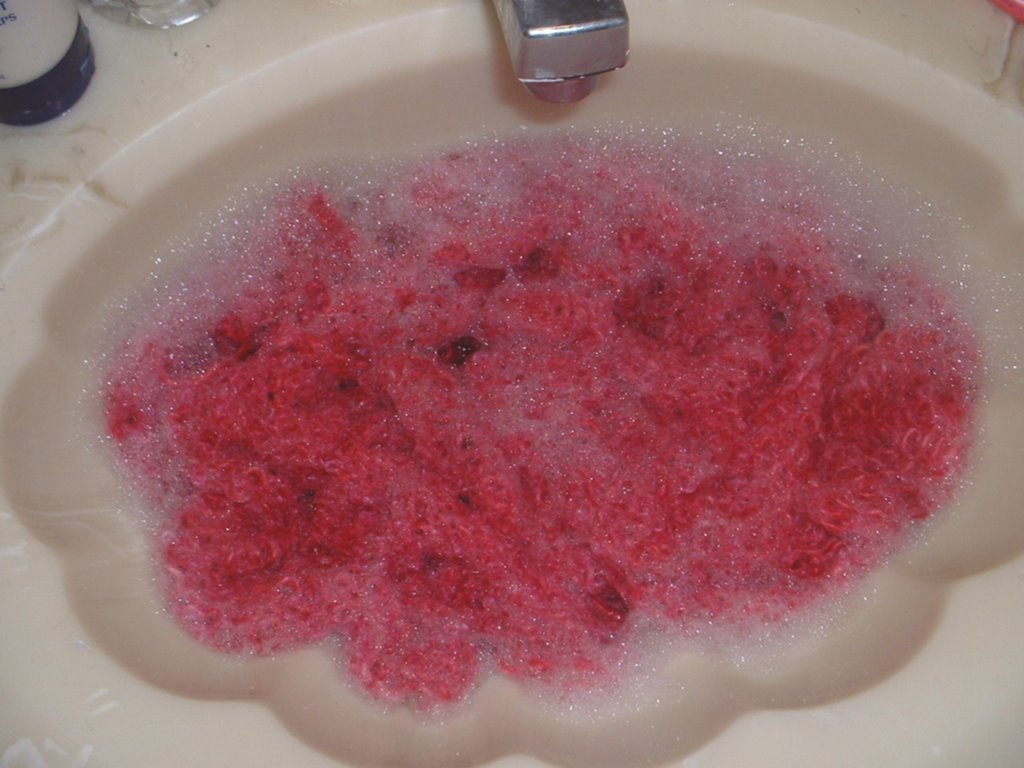
Come back, drain the water and squeeze out as much water as possible. DO NOT WRING AND TWIST LIKE A TOWEL. You will damage the fibres and possibly felt the material it if it's wool. If you have a lingerie bag, mesh bag or pillow case, use one. It will support the weight of the knit fabric and prevent stretching when you remove the piece from the sink.

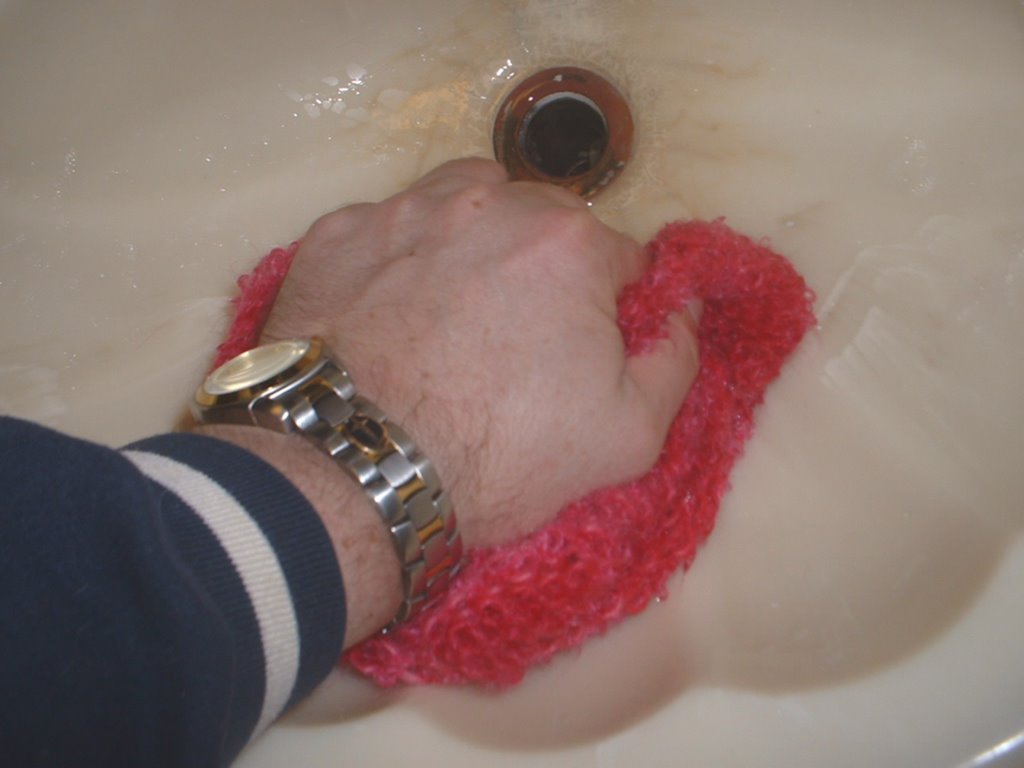
Remove the fabric from the sink and grabbing a plush terry bath towel, we will now roll the knit fabric in the towel to remove the excess water.
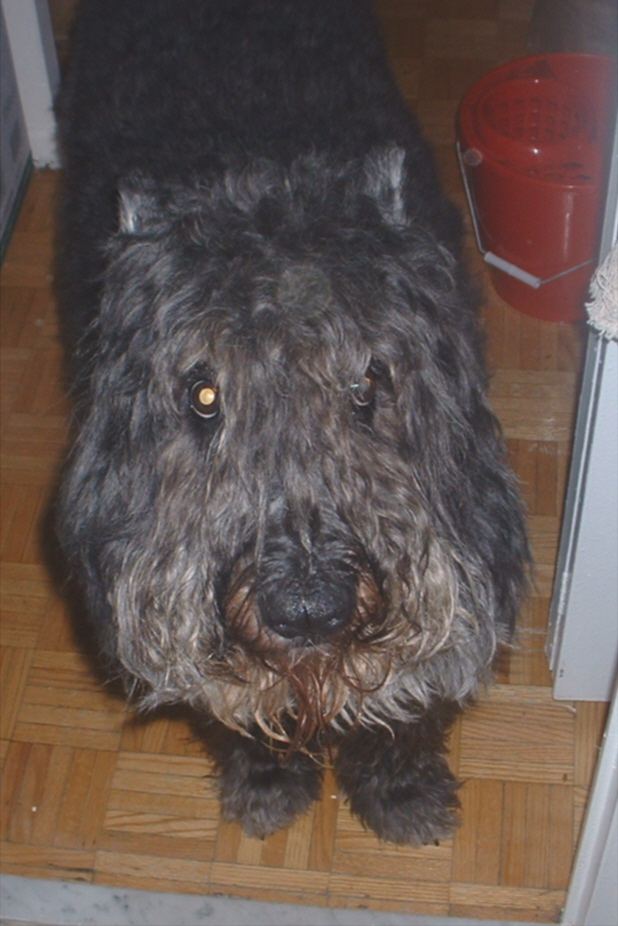
What about the cookie you promised me?
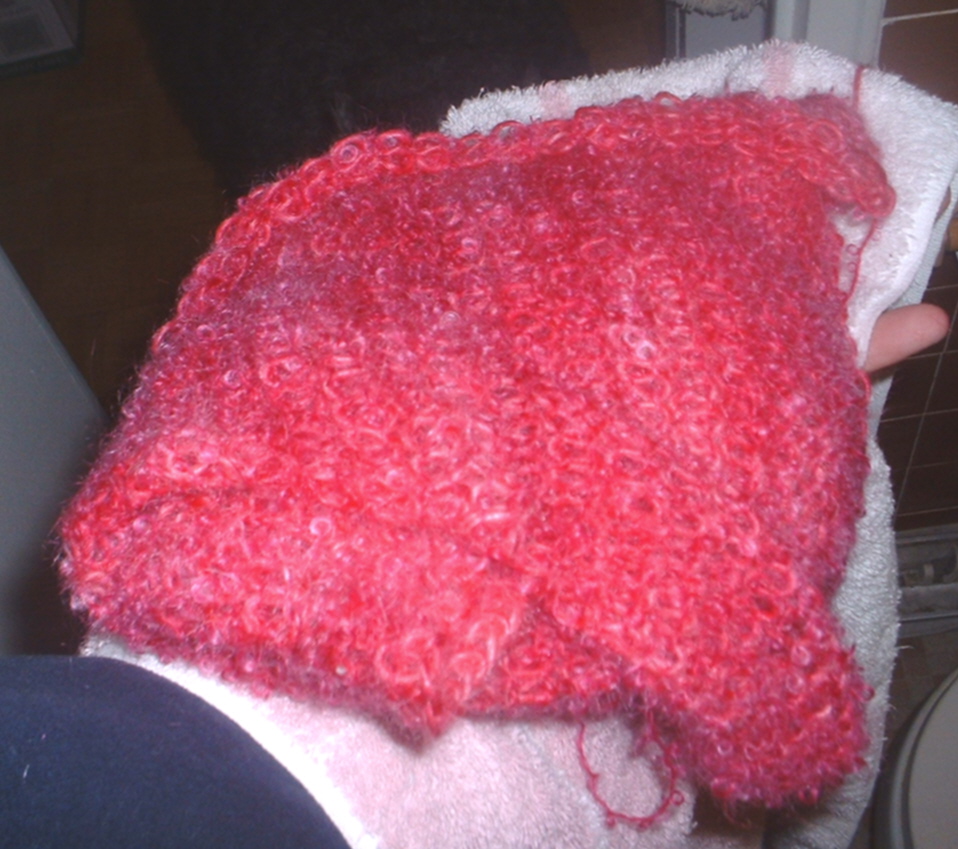
Ok, lay the towel down then your knit fabric on top of this. The knitting will be about the same width as it was when it came off the machine. But now, on the lower edge, you can see I'm starting to block it out. I'm lightly stretching the rectangle to get it as close to it's finished size as possible. I do this all the way across and adjust it as I work my way up the fabric.
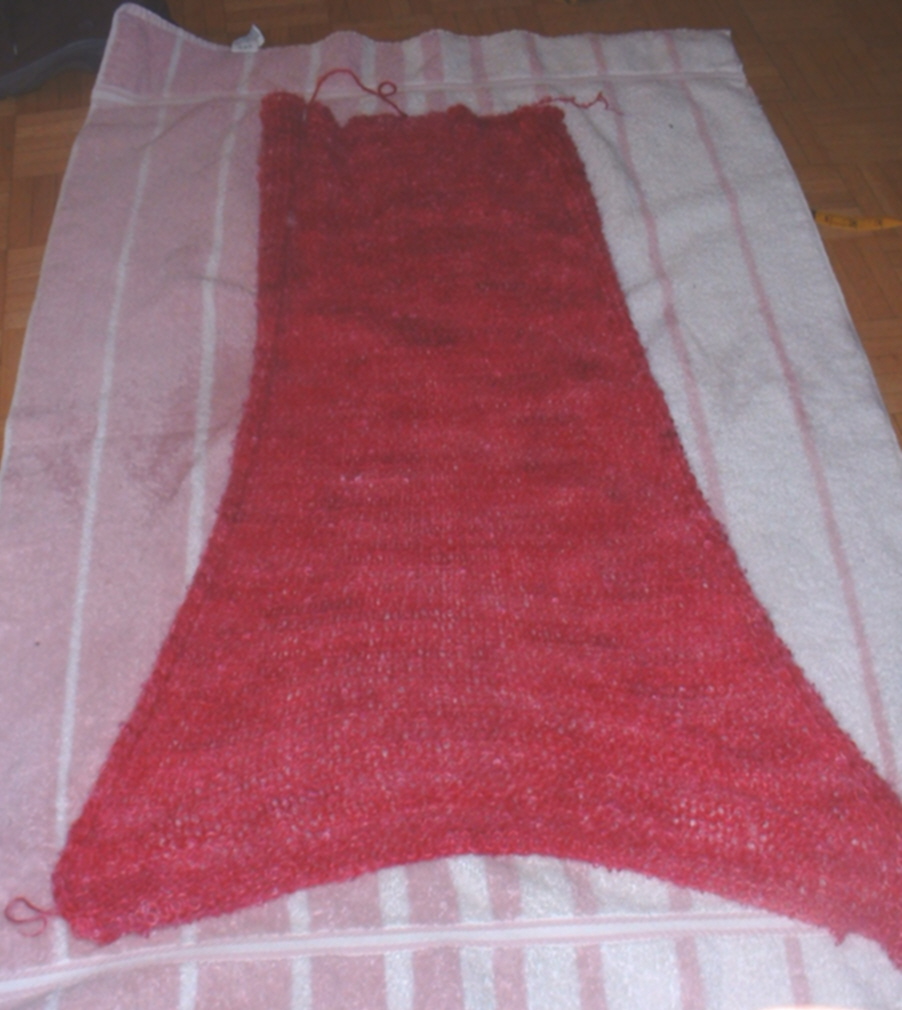
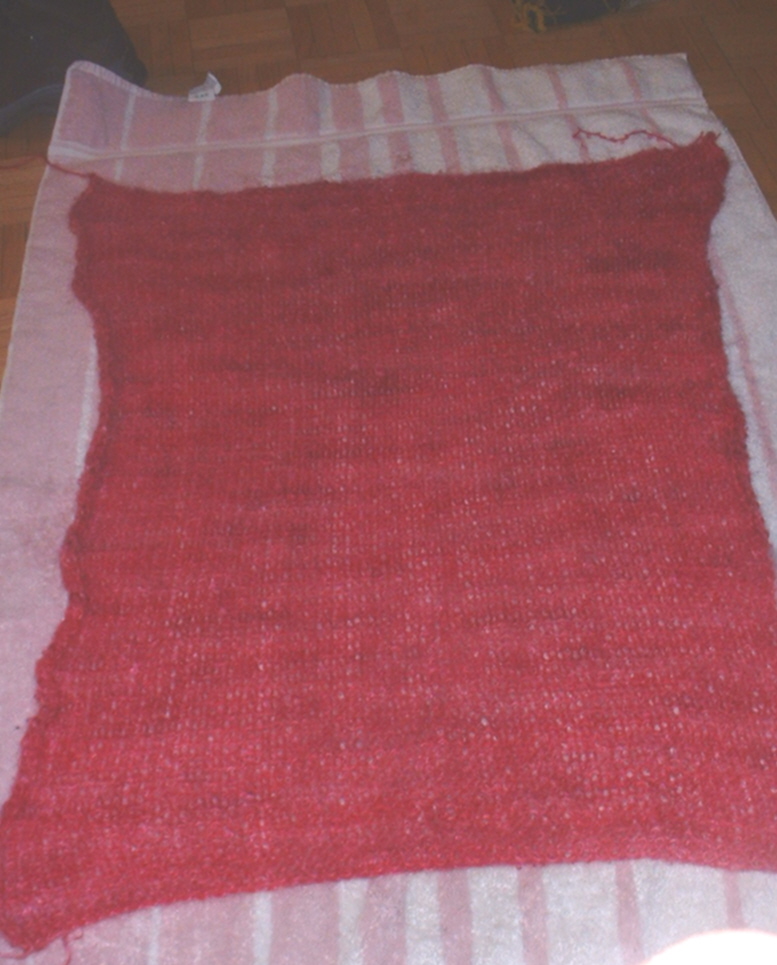 Next you will fold the lower edge of the towel up and over the top of the fabric.
 Then begin to roll the towel into a tube.
  Press firmly across the roll with the palms of your hands.
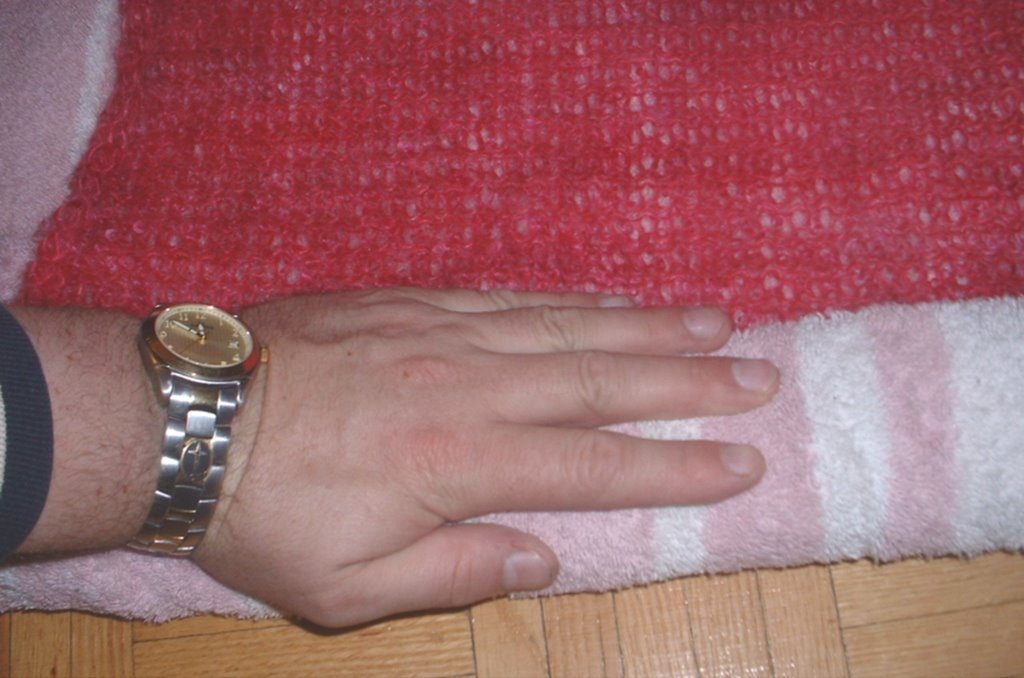 Continue to roll and press.
When you are finished, unroll the towel and tug the knit into a loose approximation of a square and hope for the best...or you can block it on a blocking/cutting board to an exact shape using pins. I would choose the latter.
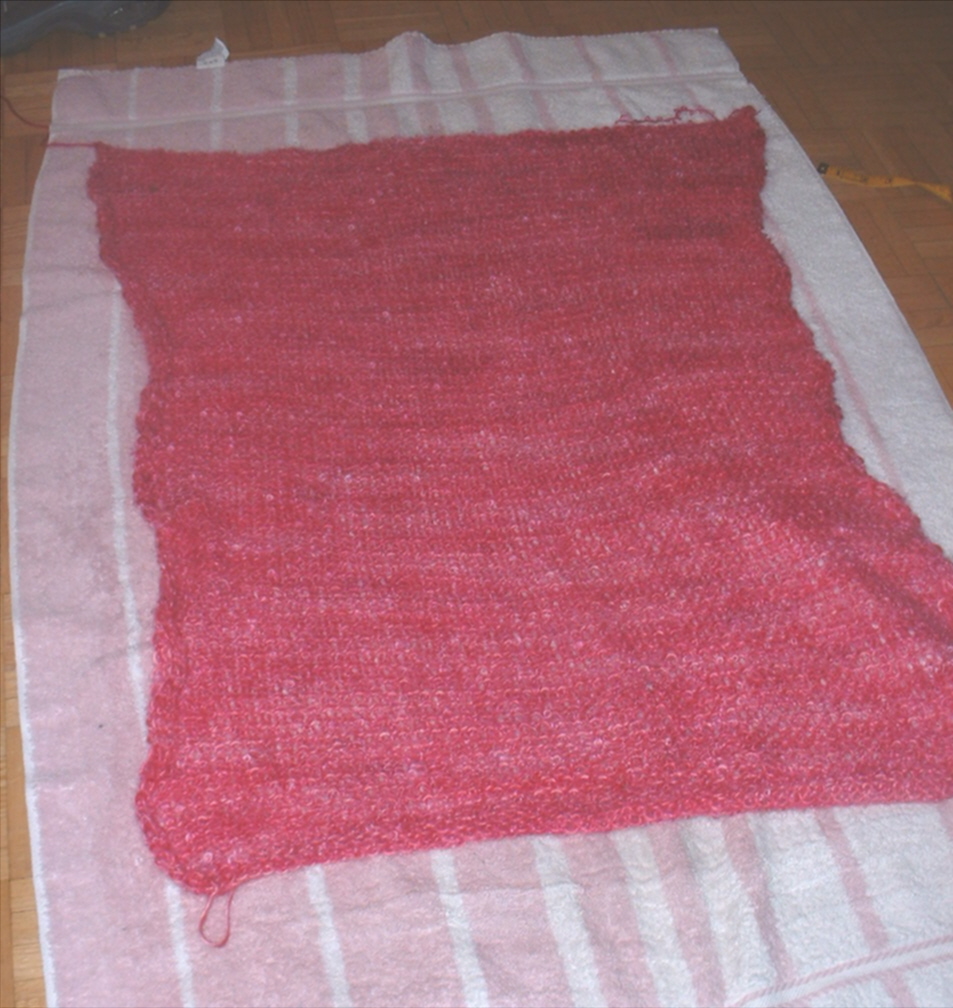
These blocking/cutting boards are marked with a large grid in inches and centimetres and they last for ever. The one pictured is as old as the hills but still does the trick. I do have 2 others. They retail for about $15 and fold up for easy storage.
Oh, one more thing. Blocking wires. Yes, buy them, use them, wonderful. Especially for finer knits like those on the 5mm gauge machines. There is a great company here in Toronto (Mississauga actually) that sell them in all kinds of lengths. More on these later.
Alrighty then...I begin by blocking out the corners. See the huge pins. They are called t-pins for those not in the know. Perfect for this task vs. teensy sewing pins.

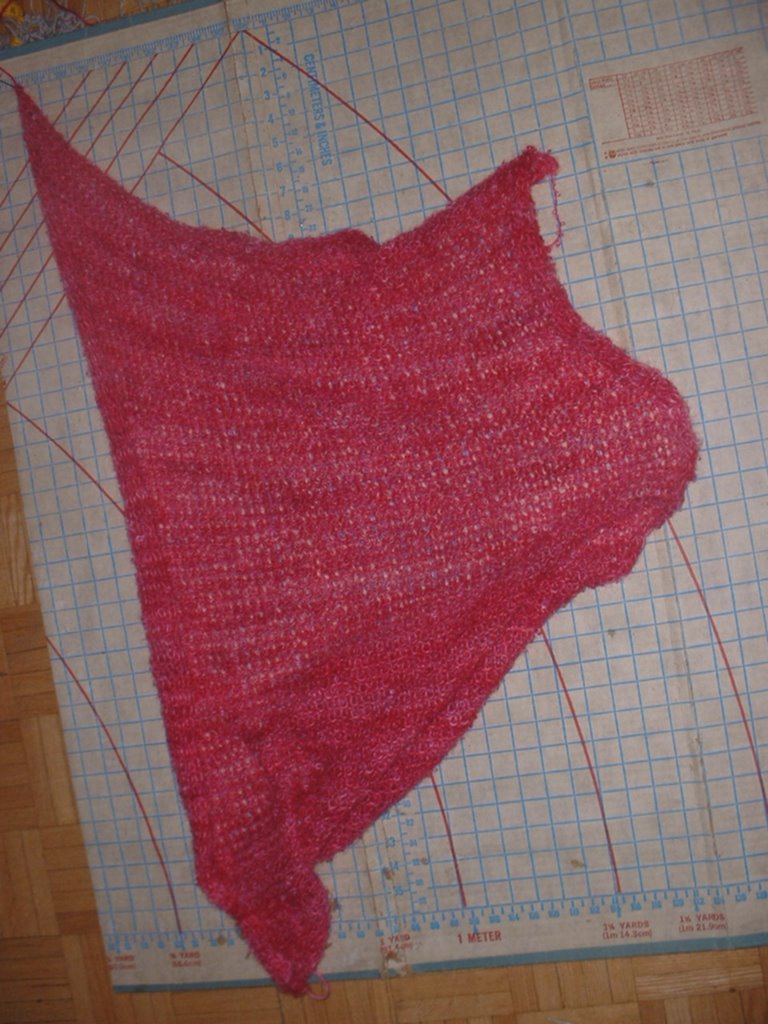
Then divide the side sections in half, then in four and so on, evenly distributing the fabric as best you can.

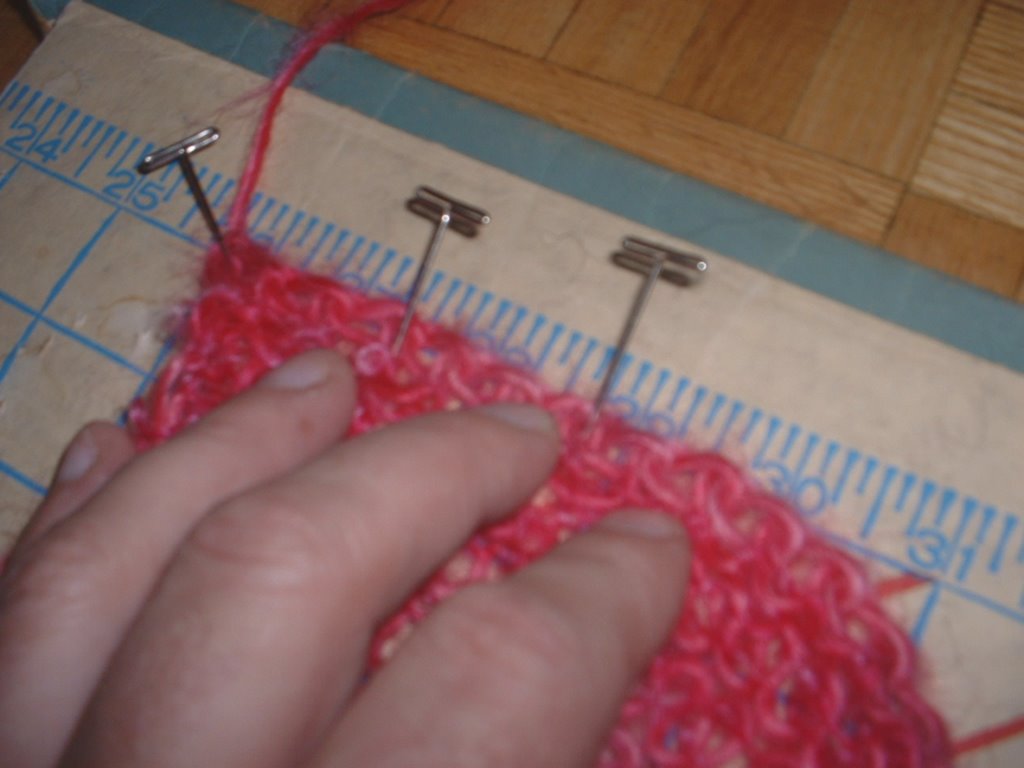
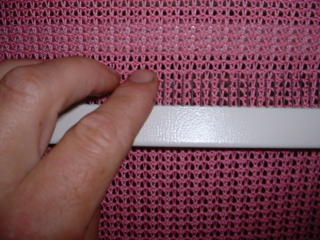
I pin at about a 1" or 2.5cm interval and readjusting the fabric and pins will be necessary. You can see from the photo below how much the fabic wants to contract. It is still slightly damp and therefore maleable.
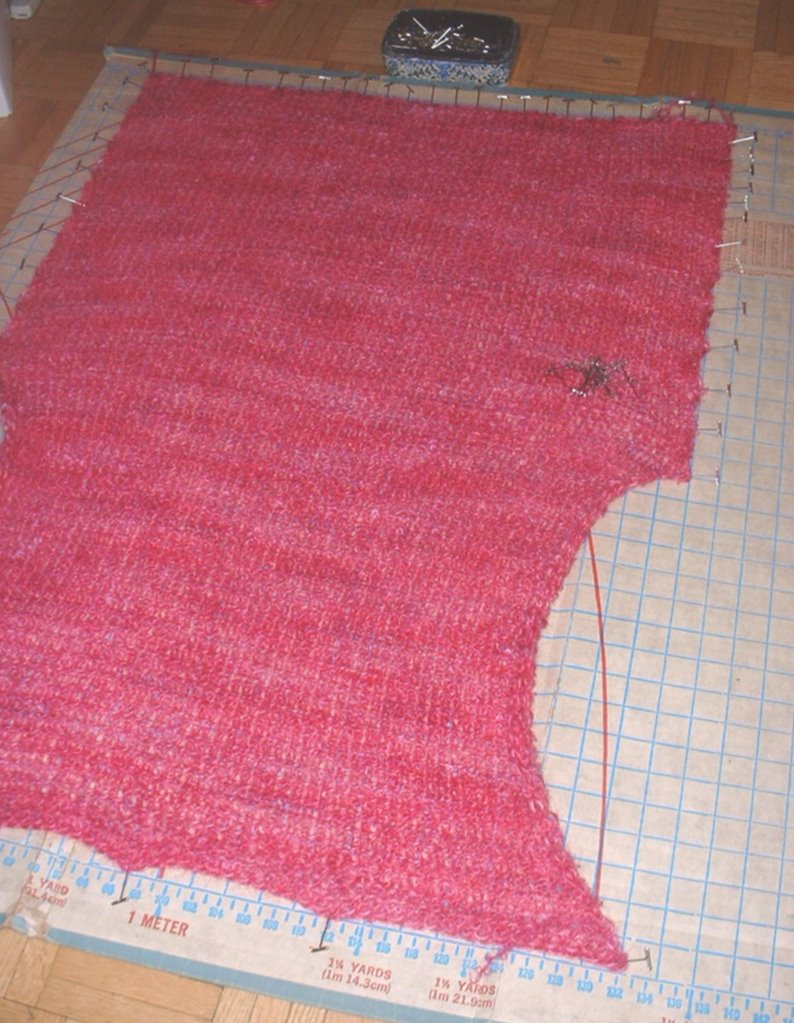


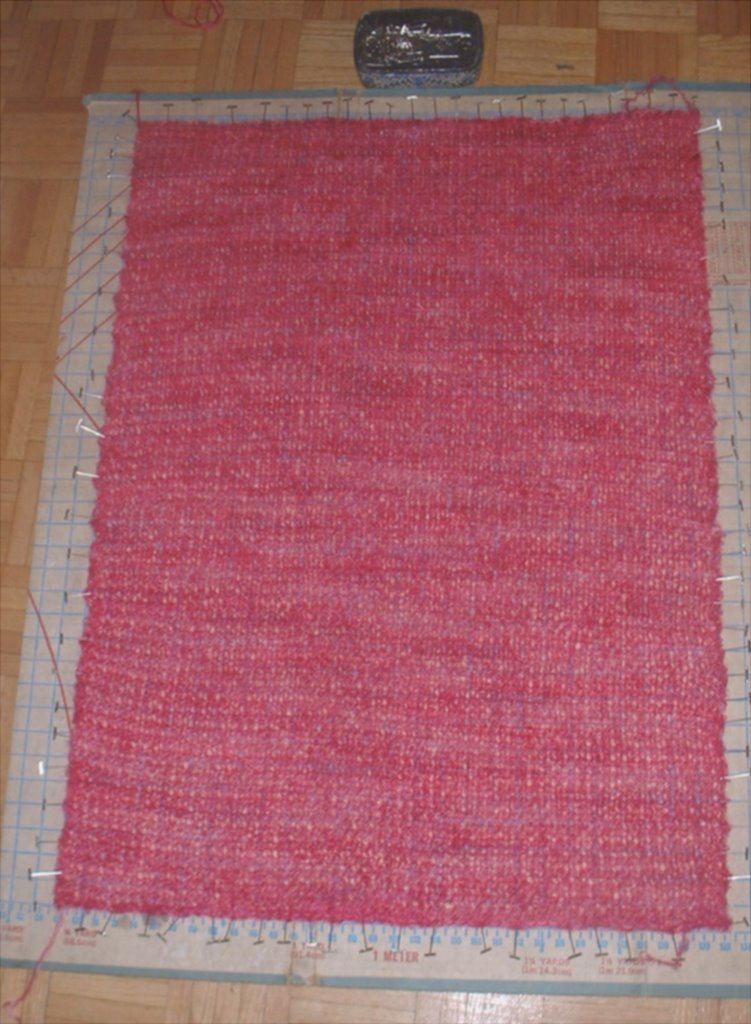
Once I've completed pinning I leave it to dry overnight. I'll update you with the finished shrug in a week or so. This fabric stayed nice and flat and hardly contracted when I removed the pins. A 2x2 rib I knit in a Silk-Mohair obviously did but then that's the nature of the stitch.
UPDATED LINKS
Please check out the new "LINKS" I've put up on the sidebar. In the event you have not visited Knitty.com - do so. A fabulous on-line knitting magazine from the knitting capital of the world - TORONTO. Do visit Interweave Knits and Berroco for their great patterns. Check out the schematics on the Berroco site. Very cool. And of course go to www.villageyarns.com to order yarn and fabulous accessories.
Kind Regards,
Patrick Madden.
Toronto, Ontario CANADA
superbaknitting@gmail.com


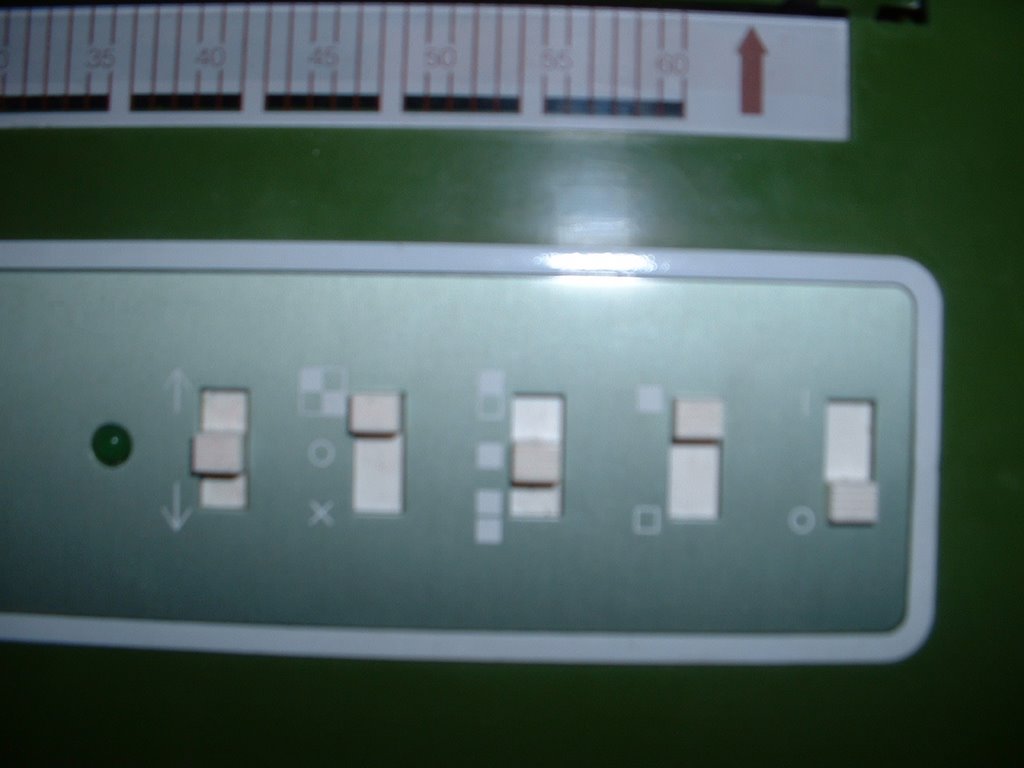
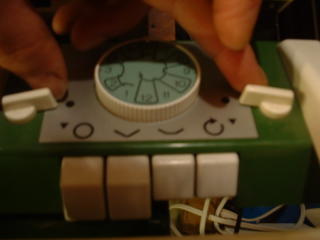
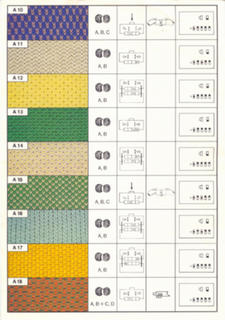
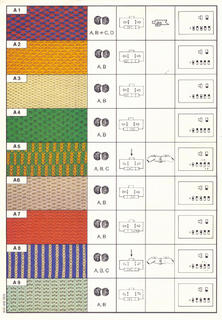 Following the instructions on the programming cards for yarn weight, carriage settings, accessories and Selection Box switch settings, you can achieve 18 various stitch techniques using the basic 1x1 needle arrangement, including Single Bed Fair Isle, Weave Technique, Jacquard and Double Bed Tuck. The photo below shows stitch pattern A7, which is a Single Bed Tuck Stitch knit in Clea Cotton. This is shown in the programming "HOW TO" below.



 the
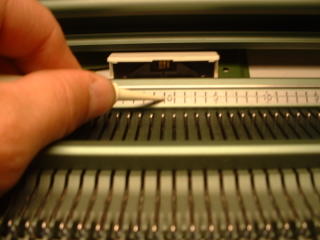
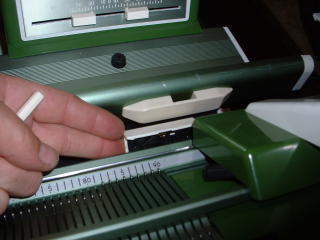
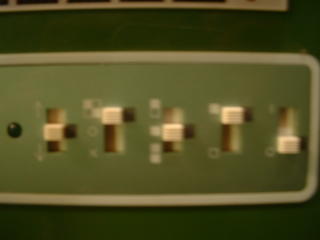
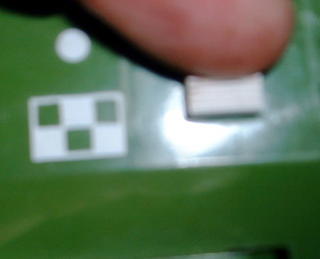
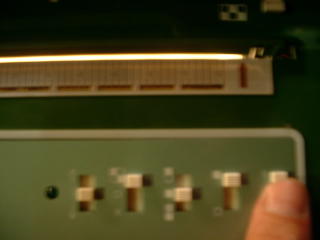
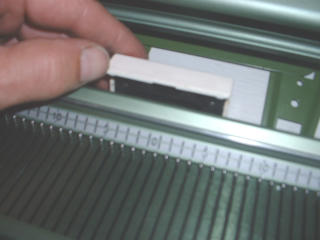
the 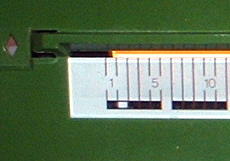 The photo above captures a picture of the Cursor Reference Mark - it is the white square, the photo below indicates it should be all the way to the left in the first square. This aligns the Selection Box Cursor Indicator with the Cursor on the back needle bed.
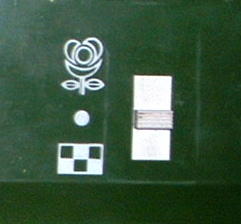 Now we need to tell the Selection Box which is the first needle or starting point of our stitch pattern. For Superba machines the default is always Needle No. 1 to the left of centre "0".